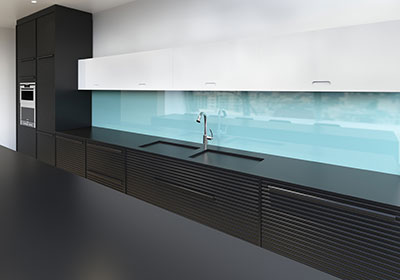
How do I install a splashback?
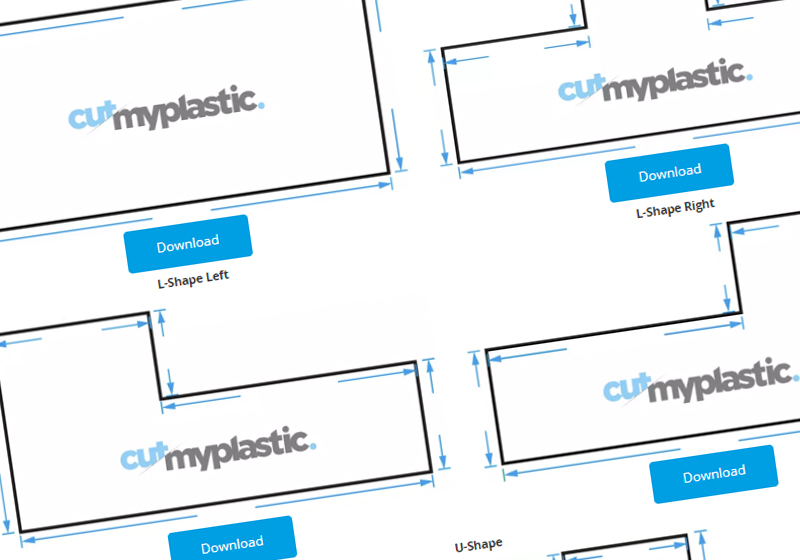
Installing your splashback is a simple DIY project with very few tools needed. For full instructions on installation please see our splashback installation guide.
Preparation:
- Clean the wall surface thoroughly to remove any grease, dust or debris.
- Use a level to mark a horizontal guideline where the top of the splashback will sit.
- Cover any adjacent surfaces like countertops to protect them during installation.
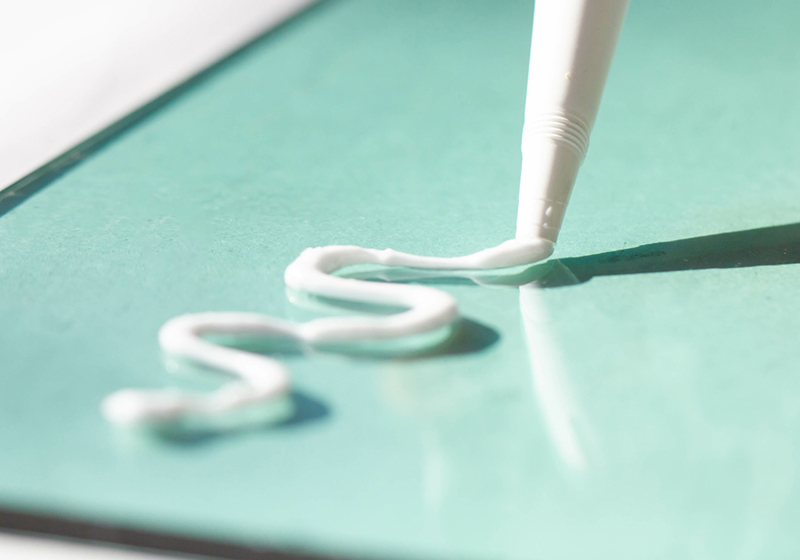
Applying Adhesive:
- Use the manufacturer's recommended adhesive/sealant for the splashback material.
- Apply adhesive directly to the wall in a zig-zag or square pattern using a caulking gun or trowel.
Positioning the Splashback:
- Carefully lift the splashback into position on the adhesive-applied wall.
- Use plastic spacers or wooden shims to create a small gap between the splashback and countertops/cabinets for expansion.
- Level and plumb the splashback using a level tool.
Securing the Splashback:
- Once level, secure the splashback to the wall by applying pressure and bracing it temporarily if needed.
- Use painter's tape or masking tape to hold it flush against the wall while the adhesive cures.
Sealing Edges:
- After adhesive has initially set, apply a bead of silicone sealant along all edges where the splashback meets walls, counters, or cabinets.
- Smooth the sealant with a finger or tool for a clean finish.
- Allow proper curing time for the adhesive and sealant as specified by the manufacturer before use. This ensures a secure, waterproof installation.

Was this article helpful?
That’s Great!
Thank you for your feedback
Sorry! We couldn't be helpful
Thank you for your feedback
Feedback sent
We appreciate your effort and will try to fix the article